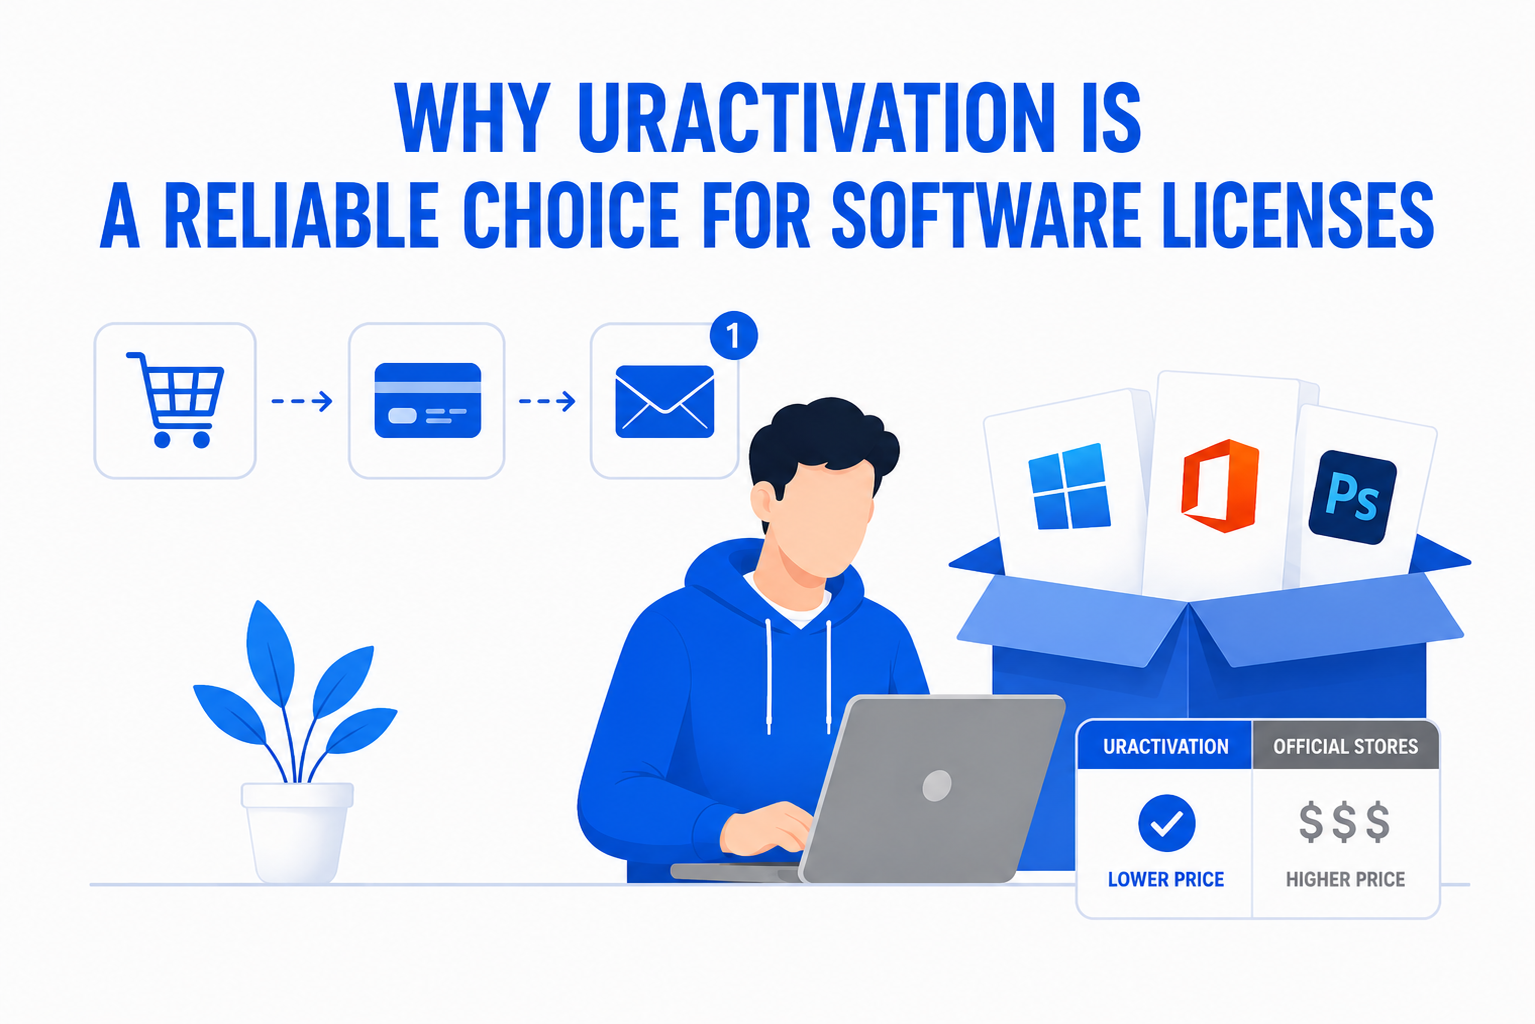
Why Uractivation Is a Reliable Choice for Software Licenses
Why Uractivation Is a Reliable Choice for Software Licenses is a question many customers ask before purchasing Microsoft Office, Windows, Adobe, Autodesk, antivirus software, and other

Get ready to install and activate Office 2024 Pro Plus smoothly. Here’s a clear, concise guide to help you through it:
Before proceeding, make sure to remove any older versions of Microsoft Office to avoid compatibility issues. Use the Control Panel or Microsoft’s official removal tool for a clean uninstall.
Access the download link sent to you via email and save the Office2024.exe file to your computer. Once the download is complete, you’ll find the file in your Downloads folder.

Double-click the Office2024.exe file to begin the installation process. The setup will start automatically. Depending on your internet speed, the installation might take a few minutes. Ensure your device remains connected to the internet until the installation is complete.

Once installed, search for Word, Excel, or another Office application in the Windows search bar. Open the app and go to File > Account to access activation settings.

To activate your product:

If you experience any issues during the installation or activation process, our support team is here to help 24/7. Contact us at [email protected] or via live chat on our website.
Enjoy your new Office 2024 Pro Plus! For more great deals and guides, visit uractivation.com.
Why Uractivation Is a Reliable Choice for Software Licenses is a question many customers ask before purchasing Microsoft Office, Windows, Adobe, Autodesk, antivirus software, and other
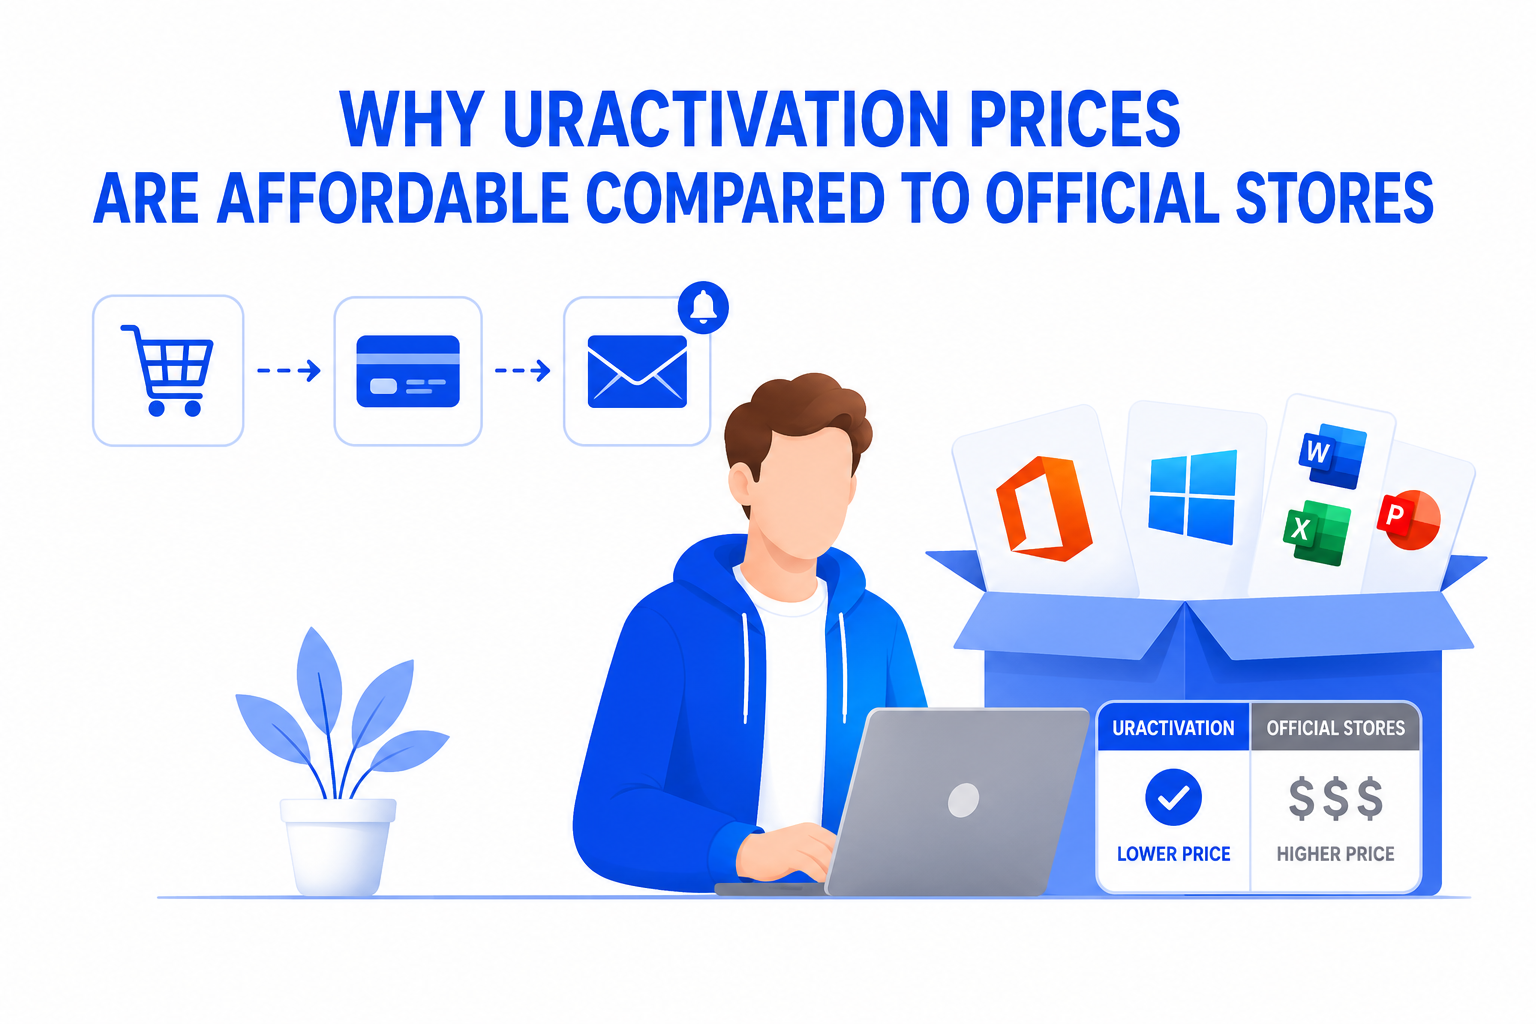
Quick Answer Why Uractivation Prices Are Affordable Compared to Official Stores is a common question among customers looking for genuine Microsoft Office, Windows, Adobe, Autodesk, and